





How to install auto back up alarm
 Jun 11, 2026|
 View:535
Driving a vehicle in reverse is one of the most dangerous maneuvers you will ever perform. Blind spots, limited visibility, and the sheer size of modern vehicles make backing up a genuine hazard for pedestrians, cyclists, and even other drivers. This is precisely why the auto back up alarm exists — a simple, cost-effective safety device that emits a loud, unmistakable warning sound the moment your vehicle shifts into reverse. Whether you drive a compact sedan, a pickup truck, or a heavy-duty commercial vehicle, installing an auto back up alarm is one of the smartest upgrades you can make. The auto back up alarm has evolved significantly over the years, from basic beeping units to sophisticated broadband sound systems that are both highly audible and less intrusive. Despite these advances, the core installation principles remain straightforward and accessible to anyone with basic electrical knowledge. In this guide, we will walk you through every step of how to install an auto back up alarm on your vehicle, along with critical precautions that could mean the difference between a properly functioning safety system and a dangerous failure.
How to Install an Auto Back Up Alarm: Step-by-Step Solution
Installing an auto back up alarm is a project that most vehicle owners can complete in under two hours with the right tools and a clear understanding of the process. The key to a successful auto back up alarm installation lies in three phases: mounting the unit, wiring the connections, and testing the system. Let us break each phase down in detail.
Phase 1: Selecting and Mounting the Auto Back Up Alarm
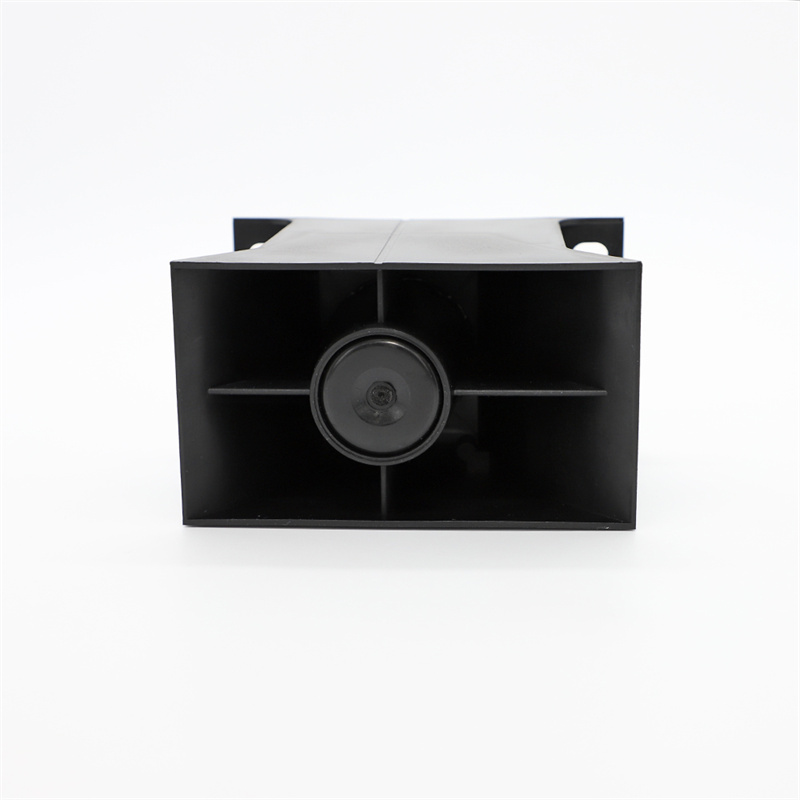
The first and arguably most important decision is where to mount your auto back up alarm. The ideal location is at the rear of the vehicle, high enough to clear most obstacles yet low enough to project sound effectively toward the ground where pedestrians walk. Most manufacturers recommend mounting the auto back up alarm at approximately four feet above ground level. The location must provide protection from flying debris, direct impact, and adverse weather conditions while allowing unobstructed sound projection to the target hazard area. Never mount the auto back up alarm facing directly up or down — this will severely reduce its effectiveness.
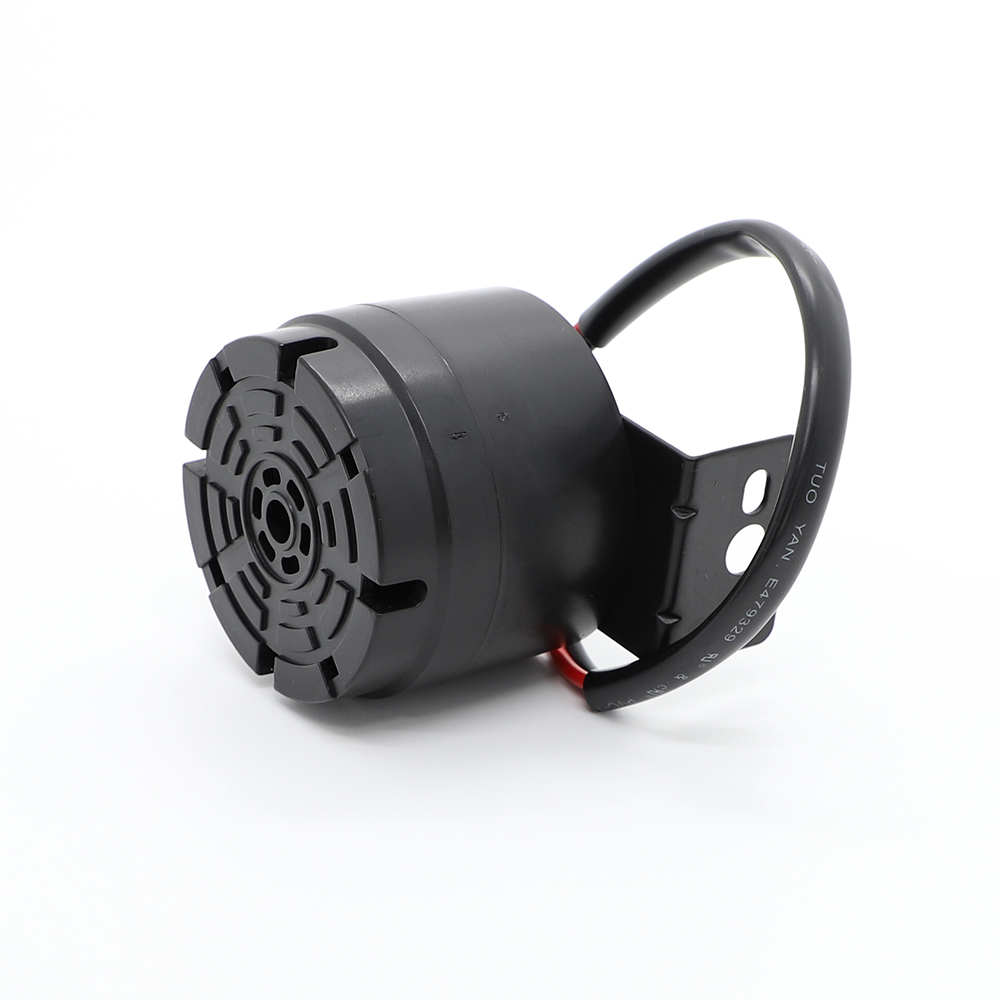
Use the alarm housing as a template to mark the drilling locations on the vehicle. Before you drill, verify that both sides of the mounting surface are clear of anything that could be damaged, such as fuel lines, electrical harnesses, or moving components. Drill holes at the marks using the size specified by the manufacturer (typically 1/4 inch), deburr all holes, and smooth any sharp edges. Secure the auto back up alarm to the vehicle using the installer-provided hardware, ensuring a tight, vibration-free connection.
Phase 2: Wiring the Auto Back Up Alarm
Wiring is where many installations go wrong, so pay close attention. The auto back up alarm must be connected to the vehicle's reverse light circuit, which means the alarm activates automatically when you shift into reverse. Use a minimum of 18 AWG wire for all connections. The positive (+) terminal of the auto back up alarm connects to the vehicle's back-up light wire — this is the wire that carries power when the reverse gear is engaged. The negative (−) terminal connects to ground. You can ground the auto back up alarm to any clean, unpainted metal surface on the chassis, using a ground eyelet with paint-cutting serrations to ensure a solid connection.
Here is a critical rule: the auto back up alarm is sensitive to polarity. If you reverse the power connection, it will not operate at all. Always observe correct polarity when wiring. Additionally, a one-amp fuse must be installed in the power line to protect both the alarm and the vehicle's electrical system. This fuse is not always provided with the kit, so be sure to source one before you begin.
For vehicles like the Ram truck, note that the chassis reverse lamp circuits are pulse-width modulated and current-limited, which may cause the auto back up alarm to malfunction. In such cases, splice into the trailer tow reverse lamp circuit instead, which is relay-driven from a battery source and provides stable power.

Phase 3: Testing the Auto Back Up Alarm
Once wiring is complete, reconnect the battery, turn on the ignition, and shift into reverse. The auto back up alarm should emit a loud, clear beep immediately. If it does not sound, check all wiring connections for looseness or corrosion, verify the ground wire is securely attached, and use a multimeter to confirm power reaches the alarm's control module. The voltage differential between the power source and the alarm's positive terminal should not exceed 500mV during operation. After confirming proper operation, affix the provided warning label to the dashboard in plain view of the operator.
Important Precautions When Installing an Auto Back Up Alarm
Installing an auto back up alarm is not just about getting it to work today — it is about ensuring it works reliably every single day. Here are the precautions you must follow.
Daily Inspection Is Non-Negotiable. The auto back up alarm should be inspected at the beginning of each shift or every workday before operating the vehicle. File this requirement into your daily maintenance log. An auto back up alarm that is not functioning properly is worse than no alarm at all, because it creates a false sense of security. Never operate a vehicle with an inoperative auto back up alarm.
Hearing Protection During Installation. Auto back up alarms produce loud sounds that may cause permanent hearing loss. When installing and testing the alarm, wear proper hearing protection and follow all OSHA requirements. This is not a suggestion — it is a safety mandate.
Sound Level Must Exceed Ambient Noise. An auto back up alarm must be louder than the surrounding environment to be effective. If you operate your vehicle on a noisy job site or in heavy traffic, you may need a louder model. The auto back up alarm you choose should be audible on the noisiest job site your vehicle will encounter.
Weather and Impact Protection. The mounting location must protect the auto back up alarm from rain, mud, and physical damage. All wire routings should be protected by a grommet or convolute/split-loom weaving to prevent chafing and short circuits.
Do Not Compromise Vehicle Safety Systems. Ensure that the installation has not affected any vehicle safety functions or circuits. Test all vehicle functions, including horn operation, vehicle safety systems, and lighting, after installation. If your vehicle has a factory backup camera or advanced safety systems, consult a professional mechanic before installing an aftermarket auto back up alarm, as integration may require specialized tools.
Regulatory Compliance. The selection and installation of an auto back up alarm should meet the requirements of local and regional governing bodies such as ISO and SAE standards. Some vehicles, like certain GM models, may require the Body Control Module to be reprogrammed to include backup alarm calibration.
Conclusion
The auto back up alarm is one of the most underrated safety devices you can install on any vehicle. It costs little, takes under two hours to install, and has the power to prevent accidents that could result in serious injury, property damage, or even death. The process of installing an auto back up alarm is straightforward: choose the right mounting location, wire the positive terminal to the reverse light circuit, ground the negative terminal to the chassis, protect all connections with proper fusing, and test thoroughly. However, the true value of an auto back up alarm is realized only when you commit to daily inspections, proper maintenance, and compliance with safety standards. Do not treat the auto back up alarm as a "set it and forget it" device. Treat it as the life-saving system it is. Install your auto back up alarm correctly, maintain it diligently, and you will drive with significantly greater confidence every time you shift into reverse.






View More(Total0)Comment lists