





How to set a flashing alarm
 Jul 16, 2026|
 View:590
A flashing alarm is far more than a basic wake-up tool; it is a thoughtful, accessible solution designed to meet the diverse needs of modern life. Unlike traditional audio-only alarms that rely solely on sound to grab attention, a flashing alarm uses bright, rhythmic light flashes to cut through deep sleep, noisy environments, or situations where audio alerts are easily missed. For people with hearing impairments, heavy sleepers who can sleep through loud ringtones, or anyone who wants a gentler, less jarring way to wake up, a flashing alarm offers a reliable alternative that balances effectiveness and comfort. More and more people are choosing to set up a flashing alarm in their bedrooms, home offices, and even shared living spaces, as it provides a flexible way to stay on schedule without disturbing others. Whether you are new to this type of device or looking to refine your existing setup, learning how to properly configure a flashing alarm can transform your daily routine, making mornings smoother and time management far more stress-free. This guide will walk you through every step of setting up a flashing alarm, cover critical precautions to avoid common mistakes, and help you make the most of this practical, user-friendly feature.
Step-by-Step Methods to Set a Flashing Alarm
1. Identify Your Flashing Alarm Device and Locate Core Controls
The first step to set a flashing alarm is to confirm what type of hardware you are working with, as different devices have slightly different layouts for activating the flashing alarm function. For standalone digital alarm clocks with a built-in flashing alarm, you will usually find a dedicated “Alarm 1” or “Alarm 2” button on the top or side panel. For smart speakers and connected home systems, the flashing alarm feature is accessed through the companion app or voice control menu. Before you start adjusting settings, take 30 seconds to read the quick reference sticker on the back of your device, so you can clearly tell which buttons control the flashing alarm, and which ones adjust general volume or screen brightness. This small prep step prevents you from accidentally changing unrelated settings while you try to activate your flashing alarm.
2.Enter Edit Mode for Your Target Flashing Alarm
Once you have located the correct controls, press the designated alarm button once to wake up the flashing alarm time display on the screen. You will see the currently saved time for that flashing alarm slot, which lets you confirm if you are modifying an existing flashing alarm or creating a brand new one. Next, press and hold the same alarm button for 2 to 3 seconds, until the hour digits on the display start blinking. This blinking signal confirms that your flashing alarm has officially entered edit mode, and all your adjustments from this point will be saved directly to that specific flashing alarm profile. For app-controlled smart flashing alarm systems, you will tap the “+ New Alarm” button on the home screen to open the full setup menu for your new flashing alarm.
3.Adjust the Exact Trigger Time for Your Flashing Alarm
With your flashing alarm in edit mode, use the “HR” and “MIN” arrow keys on your device to set the exact time you want your flashing alarm to activate. Many users rush through this step and accidentally set their flashing alarm to PM instead of AM, so double-check the small AM/PM indicator on the screen after you finish adjusting the numbers. For app-based flashing alarm setups, you can scroll through the time picker to select your desired hour and minute, and even add a custom label like “Gym Reminder” to your flashing alarm to remind you why the alert is going off. Taking an extra 10 seconds to confirm the time here will save you from the frustration of a misfiring flashing alarm that throws off your entire daily schedule.
4.Select Your Preferred Flashing Alarm Mode and Flash Pattern
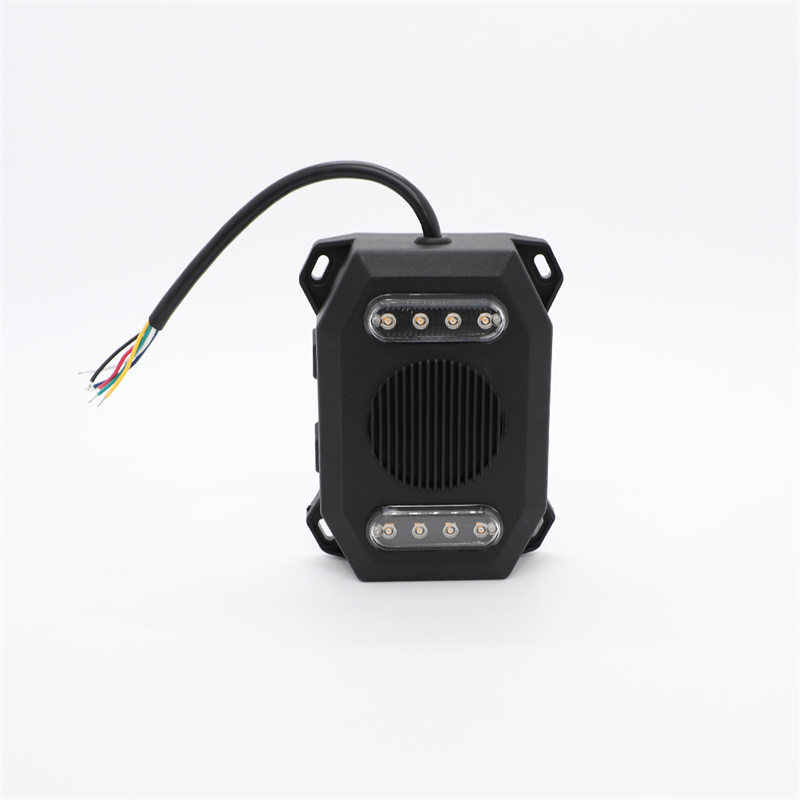
This is the most critical step to turn a regular audio alert into a fully customized flashing alarm. Press the alarm button one more time to cycle through the mode options, which will usually include “Buzzer Only”, “Radio Only”, “Flashing Only”, and “Flashing + Audio”. If you need a completely silent alert for a shared bedroom, select “Flashing Only” to make your flashing alarm rely entirely on light to get your attention. If you are a very heavy sleeper, choose “Flashing + Audio” so the light flashes start 5 minutes before a soft, gradual sound kicks in. Most modern flashing alarm devices also let you pick your flash pattern here: slow gentle pulses for a calm sunrise-style wake-up, or fast bright bursts for urgent reminders that need to grab your full attention immediately.
5.Save Settings and Confirm Your Flashing Alarm is Active
After you have locked in your time, mode, and flash pattern, press the “Set” button once to save all your custom configurations for the flashing alarm. On most devices, a small flashing bell or light icon will appear in the top corner of the display, which is your clear visual confirmation that the flashing alarm is successfully armed and ready to run. For smart bulb-linked flashing alarm systems, tap the “Save” button in the app, then check the device list to make sure all the lights you connected to your flashing alarm show a “Linked” status. Before you walk away from your device, do a quick visual scan to confirm no error messages are showing on the screen, so you can be 100% sure your flashing alarm will trigger exactly when you need it to.
Critical Precautions for Setting a Flashing Alarm
1.Ensure Your Flashing Alarm Has an Unobstructed Line of Sight
Even the brightest, most powerful flashing alarm will fail to wake you up if its light source is blocked by objects on your nightstand. Never tuck your flashing alarm behind a stack of books, under a pillow, or behind thick blackout curtains, as these obstructions can block 90% of the light output from your flashing alarm. Place your flashing alarm on a clear, elevated shelf 1 to 2 meters away from your bed, angled directly toward your usual sleeping position. If you regularly wear an eye mask while sleeping, make sure your flashing alarm is paired with a small vibrating pad under your mattress, so you do not miss the alert even if the light from your flashing alarm is fully covered.
2.Test Your Flashing Alarm Immediately After Every Setup
Never wait until the next morning to find out if your flashing alarm works correctly. Right after you finish saving your new flashing alarm settings, manually trigger a test run to confirm the lights flash at your selected intensity, the pattern matches what you chose, and there are no unexpected delays or glitches. This 30-second test will catch common mistakes like accidentally leaving your flashing alarm on “Audio Only” mode, or turning the brightness down so low that the flashes are barely visible. If you unplug your flashing alarm to charge it, or replace its batteries, always run this quick test afterward, as many budget flashing alarm models will reset all custom settings when they lose power completely.
3.Avoid Overly Bright or Aggressive Flash Patterns
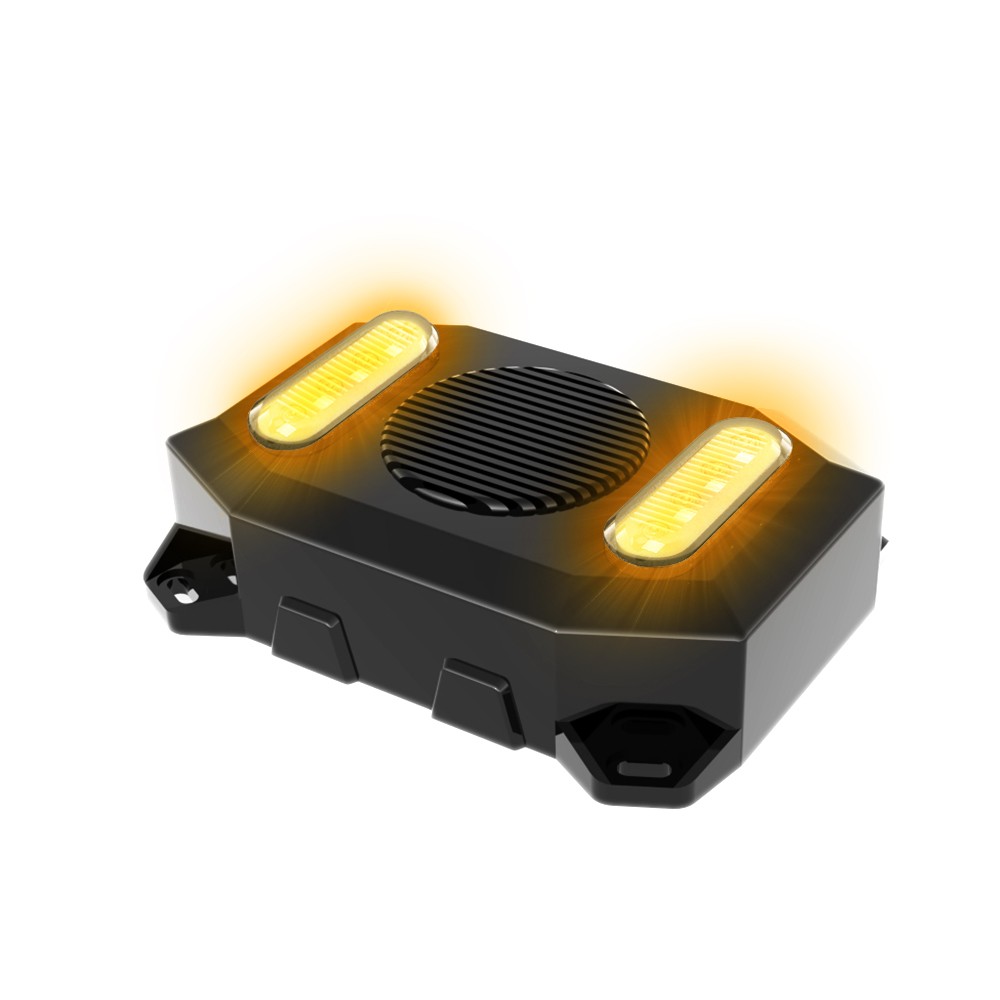
A poorly configured flashing alarm can do more harm than good, especially if you are sensitive to light or share a space with other people. Never set your flashing alarm to maximum brightness with a fast strobing pattern, as this can jolt you out of deep sleep and leave you feeling groggy for hours after you wake up. For daily morning use, stick to a medium brightness setting with a slow, gradually increasing flash speed that mimics natural sunrise, which helps your body produce melatonin and cortisol at a healthy, steady pace. If you use your flashing alarm in a dorm room or shared office, keep the brightness at 50% or lower, so your flashing alarm does not accidentally disturb other people who are not expecting the alert.
4.Set Up a Backup Flashing Alarm for Critical Scenarios
No single electronic device is 100% reliable, so you should never depend on just one flashing alarm for high-stakes tasks like catching an early flight or making a non-negotiable work meeting. Set a second backup flashing alarm on a different device placed across the room, so you have to get out of bed to turn it off, and the light from this second flashing alarm will flood the entire room to make sure you wake up. It is also smart to keep the lens of your flashing alarm clean and free of dust, as a smudged, dirty lens can reduce the light output of your flashing alarm by more than 30% over time, making it far less effective without you even noticing.
5.Adjust Your Flashing Alarm for Different Environments
Your flashing alarm settings that work perfectly in a dark bedroom will not be as effective in a bright, sunlit home office. When you set up your flashing alarm for daytime use, bump the brightness up by 20% to make sure the flashes can cut through natural daylight, and pair it with a very soft low-volume beep for extra reinforcement. If you are using your flashing alarm in a hotel room while traveling, place it on the desk directly across from your bed, instead of tucking it away on the nightstand, so the light from your flashing alarm can bounce off the walls and reach you no matter which position you sleep in.
Conclusion
A flashing alarm is far more than a novelty feature—it is a practical, accessible tool that can drastically improve how you start your day, especially for anyone who struggles with loud audio alarms or has specific accessibility needs. By following the clear, step-by-step process we have outlined, you can easily set a flashing alarm that is perfectly customized to your schedule, your sleep habits, and your personal preferences. The key to a great flashing alarm experience is not just about getting the time right, but about taking the time to select the right flash pattern, the correct alert mode, and the ideal brightness level that works for you. When you combine this careful setup with the simple, common-sense precautions we covered, you will never have to worry about sleeping through your alarm again, or being jolted awake by a harsh, blaring sound that ruins your morning mood. As more and more people look for gentler, more inclusive ways to manage their daily routines, the flashing alarm has become an essential feature in alarm clocks, smart home systems, and even wearable devices. Taking a few extra minutes to learn how to properly set a flashing alarm, test it, and maintain it, will pay off every single morning, giving you a calm, stress-free start that sets a positive tone for the rest of your day. Whether you use your flashing alarm to wake up for work, remind yourself of important medication times, or alert you to doorbell rings while you are wearing headphones, a well-configured flashing alarm will quickly become one of the most useful, trusted tools in your entire home.
FAQ
Q: How long can your flashing alarm work continuously?
A: Our flashing alarm supports 72-hour non-stop operation, with low power consumption LED lights. It has stable flash frequency and built-in over-discharge protection to extend service life for industrial site use.
Q: What flash modes does the flashing alarm provide?
A: This flashing alarm comes with steady light, slow flash and fast flash three switchable modes. Users can adjust modes easily via side buttons to fit different warning scenarios on machinery or vehicles.
Q: Is the light of the flashing alarm bright enough for outdoor use?
A: Equipped with high-brightness LED chips, the flashing alarm offers strong visibility under sunlight. Its transparent anti-scratch lens ensures clear warning signals day and night outdoors.
Q: How to install the flashing alarm quickly and firmly?
A: The flashing alarm is equipped with a universal metal base and screw accessories. It supports vertical wall mounting and top fixed installation, finished within 3 minutes without complex tools.
Q: Can the flashing alarm be installed on vibrating equipment?
A: The flashing alarm has internal shock-absorbing rubber pads. It resists slight vibration from forklifts and production machines without loose parts or abnormal flashing during long-term use.


I want to comment
Recommended Products

YS-BL3-6C 12~24V 102dB white noise speaking alarm flashing alarm for engineering vehicle
YS-BL3-6C 12~24V 102dB white noise speaking alarm flashing alarm for engineering vehicle

BL2-USB flashing alarm, multiple voice options talking alarm

YS-BL1-2C-WN 12~24V 97dB white noise flashing alarm for engineering vehicle

YS-BL1-2C 12~24V 102dB flashing alarm talking alarm for engineering vehicle






View More(Total0)Comment lists